It really has been far too long since I've updated you all on the progress on our garage conversion. Those of you that know us, will know that we have been a little pre-occupied recently on another conversion (we opened a cafe!) - more on that another time.
I last wrote about our garage after an epic day of Marta and I fitting a roof in a day. We did exactly what we needed to: put a lid on the building to make it watertight. But the roof was far from finished, and I continued to work through December and January (it's cold that time of year if you didn't know), to finish things off. To say "finish things off" make it sound quite trivial, but it felt far from that.
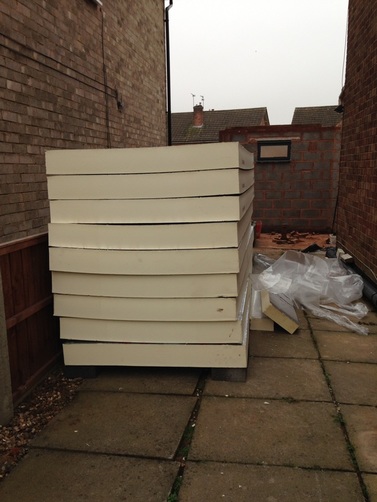
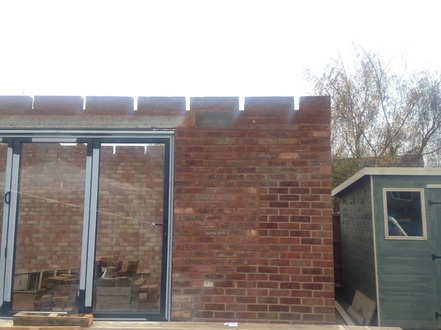
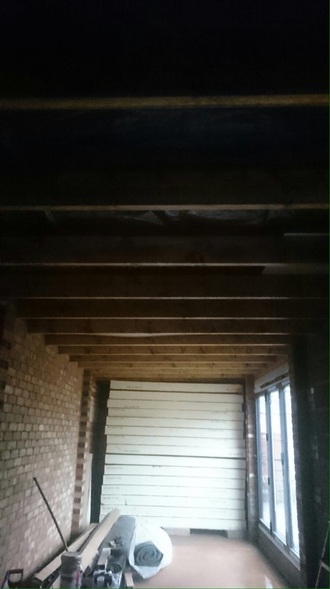
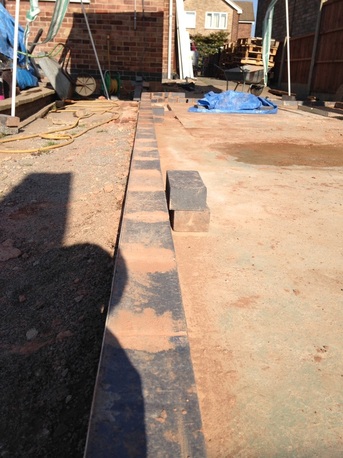
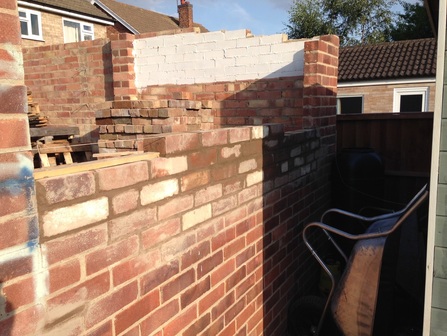
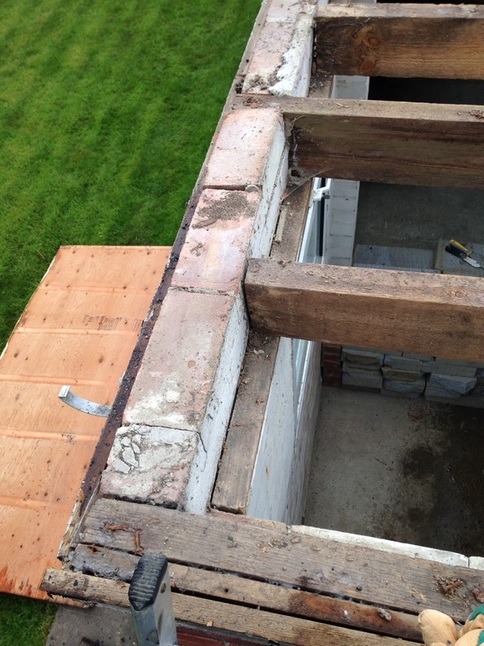
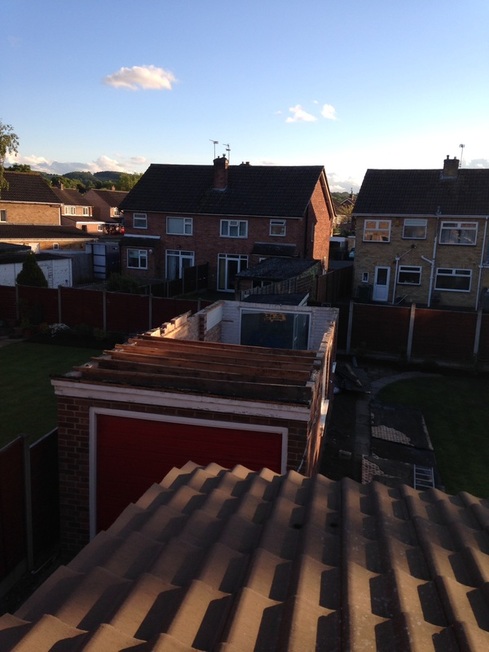
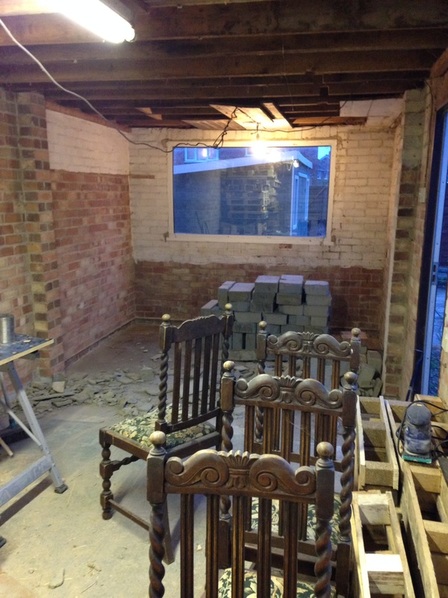
The first thing required was to finish fitting roof insulation all the way to the end of the building. If you look at the last photo from the previous post, you'll see a section that we didn't have time to complete. So for this part I actually had some time to take some photos to show how it was fitted.
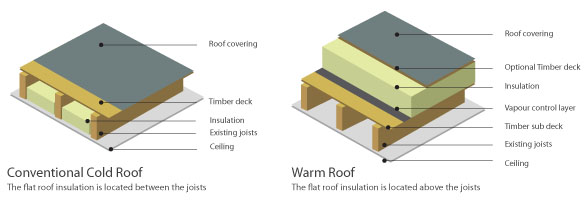
The first stage was to cut the foam to size and glue to the bottom sheet of OSB (that's the type of wood being used):
I last wrote about our garage after an epic day of Marta and I fitting a roof in a day. We did exactly what we needed to: put a lid on the building to make it watertight. But the roof was far from finished, and I continued to work through December and January (it's cold that time of year if you didn't know), to finish things off. To say "finish things off" make it sound quite trivial, but it felt far from that.
The first thing required was to finish fitting roof insulation all the way to the end of the building. If you look at the last photo from the previous post, you'll see a section that we didn't have time to complete. So for this part I actually had some time to take some photos to show how it was fitted.
The first stage was to cut the foam to size and glue to the bottom sheet of OSB (that's the type of wood being used):
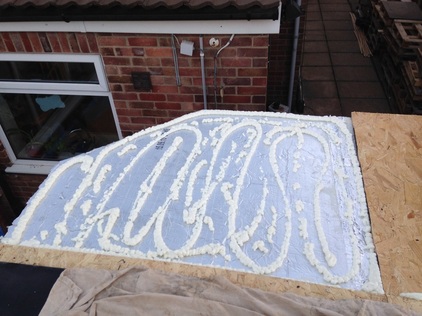
I used the foam you can see above to glue things - the idea being that there should be no air gaps that can allow condensation to form when the warm temperature of the inside of the building meets the cold temperature of the outside.
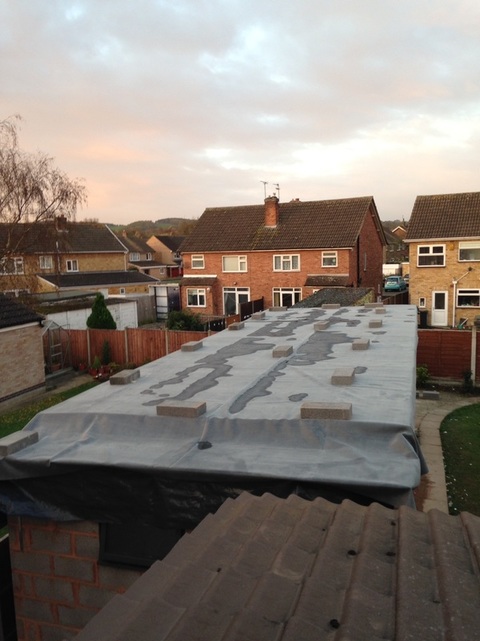
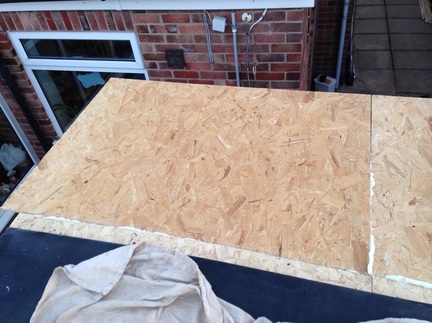
Another piece of OSB is placed (and weighed down) on top:
Another piece of OSB is placed (and weighed down) on top:
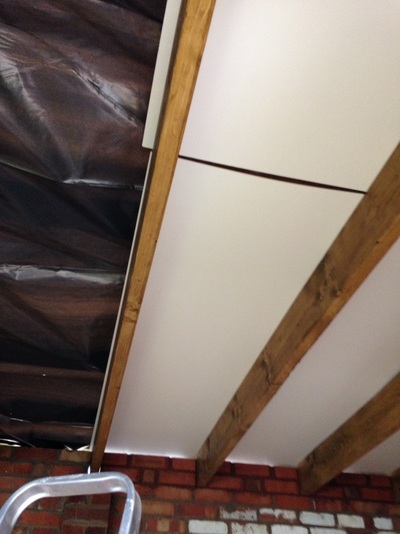
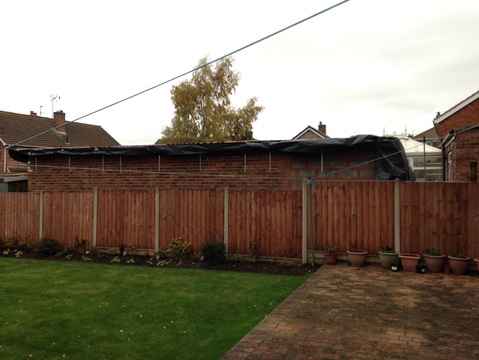
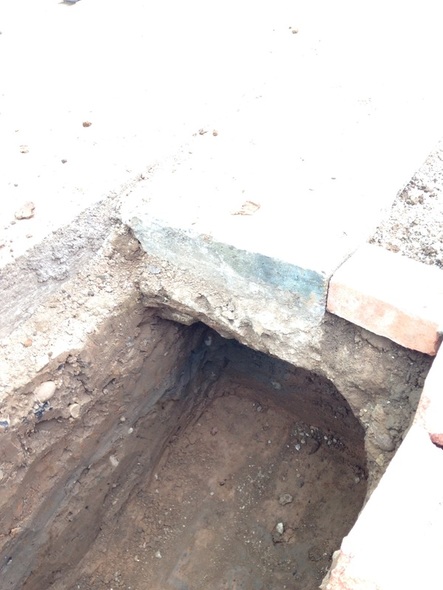
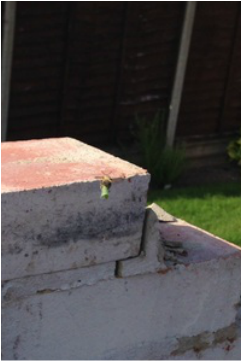
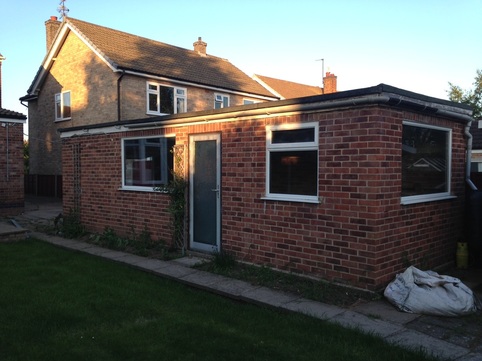
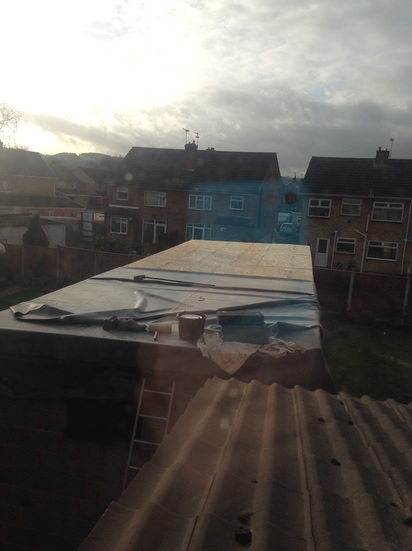
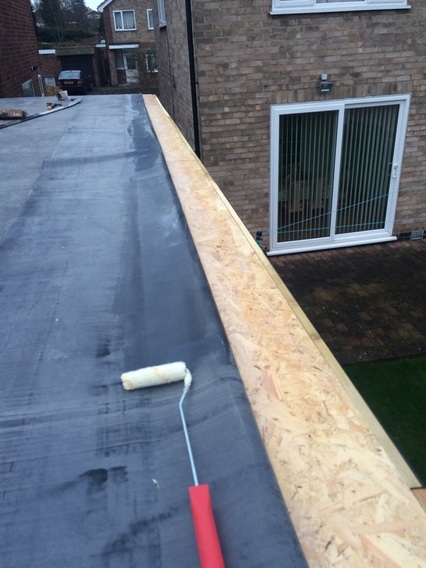
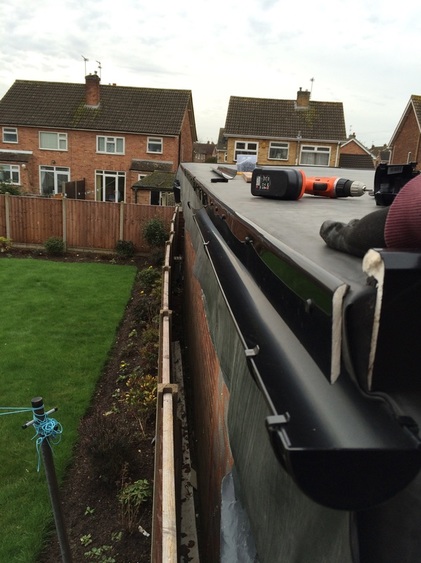
This particular piece above was later trimmed to produce the diagonal corner seen in the first image.
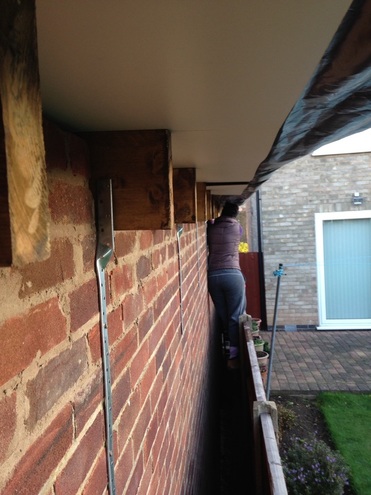
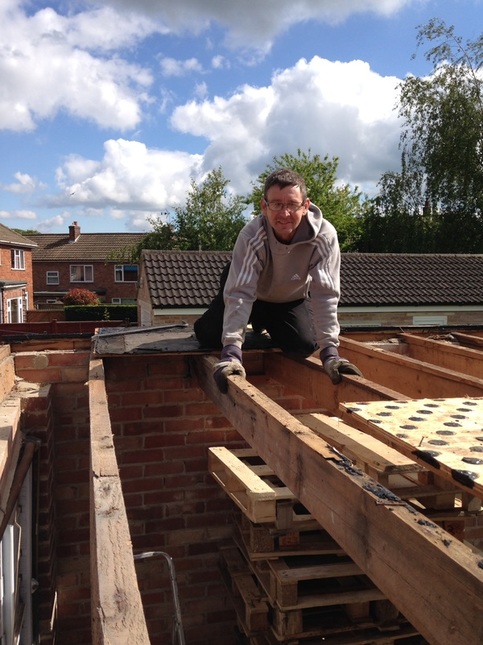
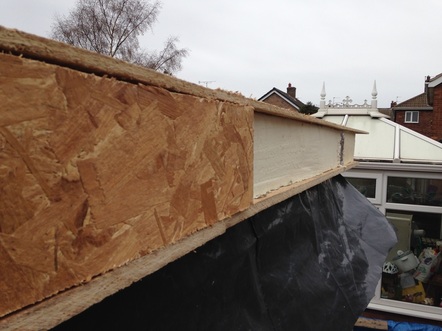
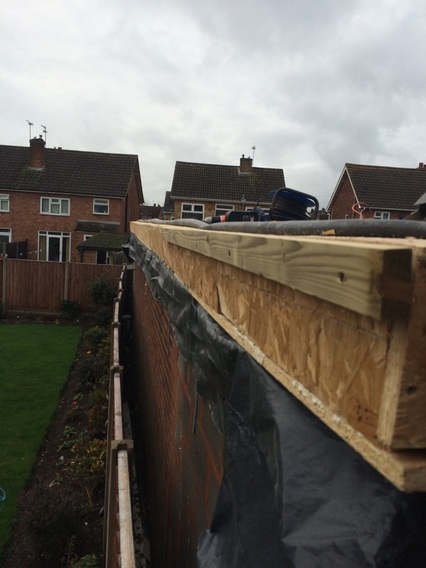
Before the rubber could be glued down, the sides of the roof sandwich needed to be closed off. This would prevent water entering the sides, but also provide a solid surface on which to secure things: guttering on one side and the edge trims where required.
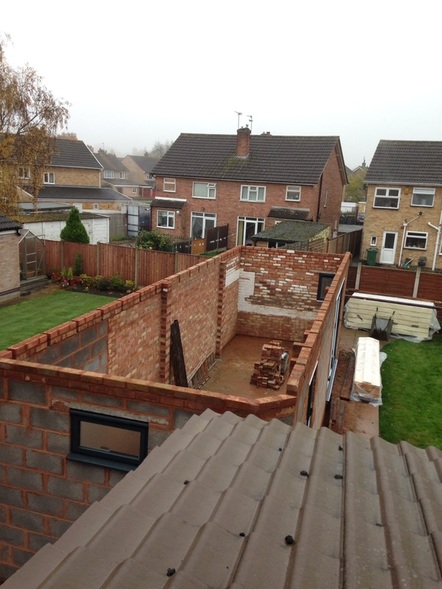
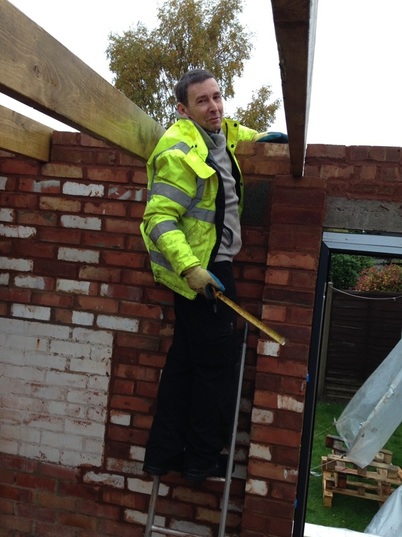
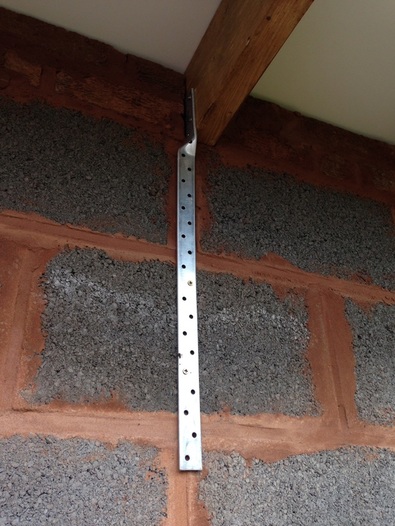
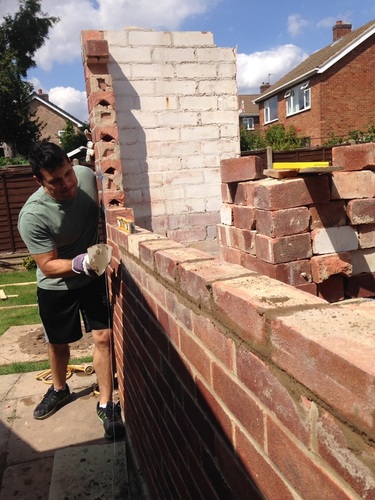
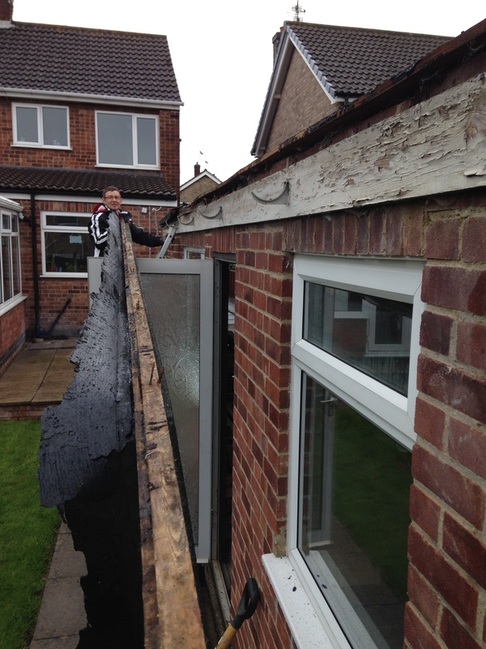
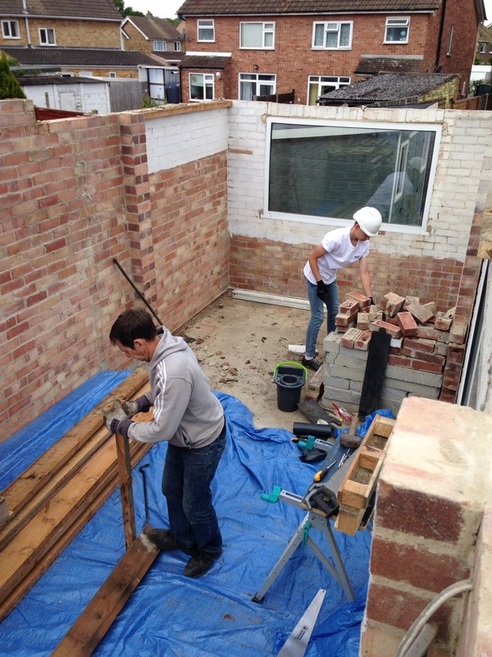
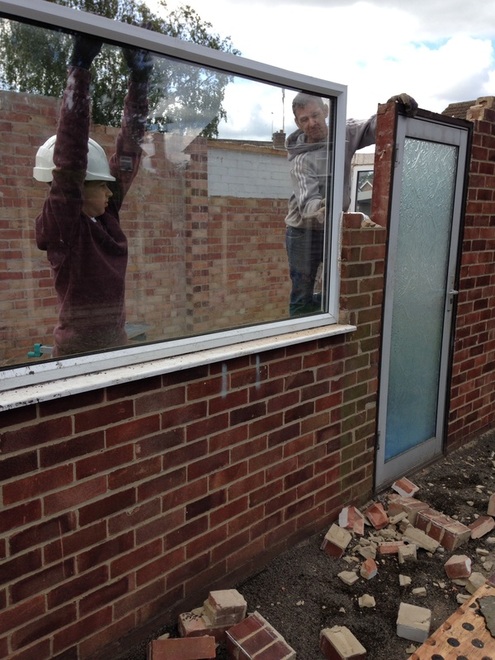
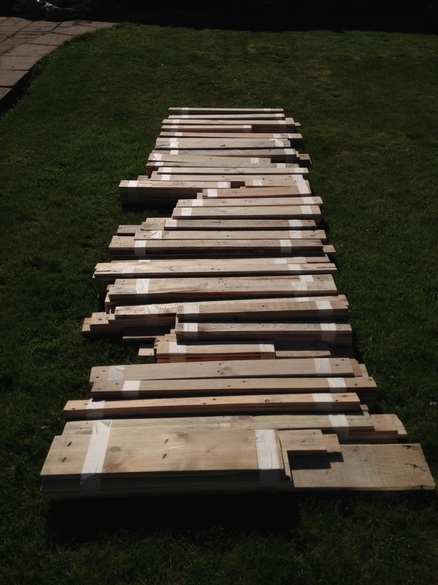
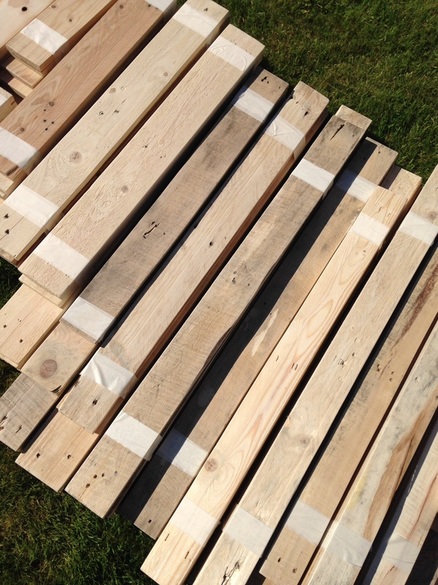
Below is what I am talking about. I needed to cut strips of wood to fit along each of the sides, then secure by screwing. A bit of help came from my brother-in-law, Lu, who cut a lot of this wood to the correct size.
Before the rubber could be glued down, the sides of the roof sandwich needed to be closed off. This would prevent water entering the sides, but also provide a solid surface on which to secure things: guttering on one side and the edge trims where required.
Below is what I am talking about. I needed to cut strips of wood to fit along each of the sides, then secure by screwing. A bit of help came from my brother-in-law, Lu, who cut a lot of this wood to the correct size.
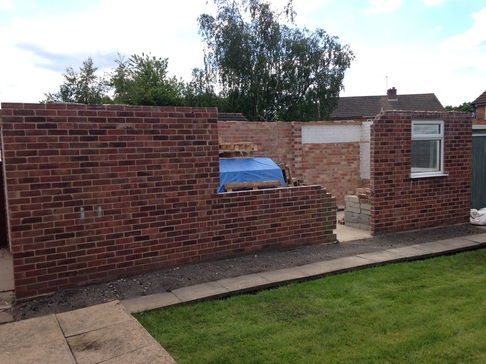
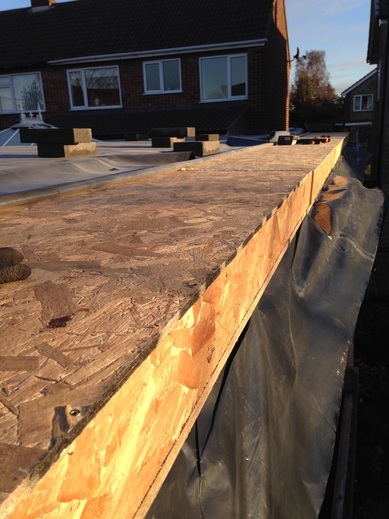
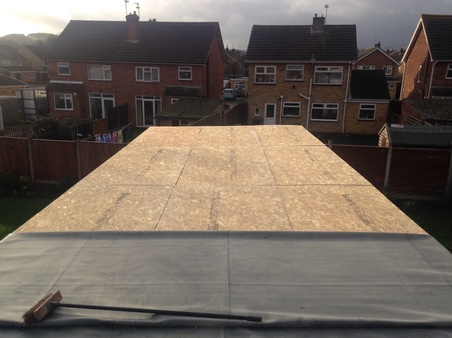
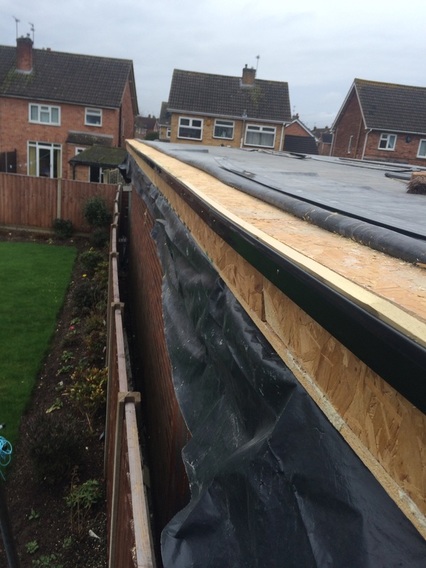
One side finished and looking pretty glorious in the winter sun:
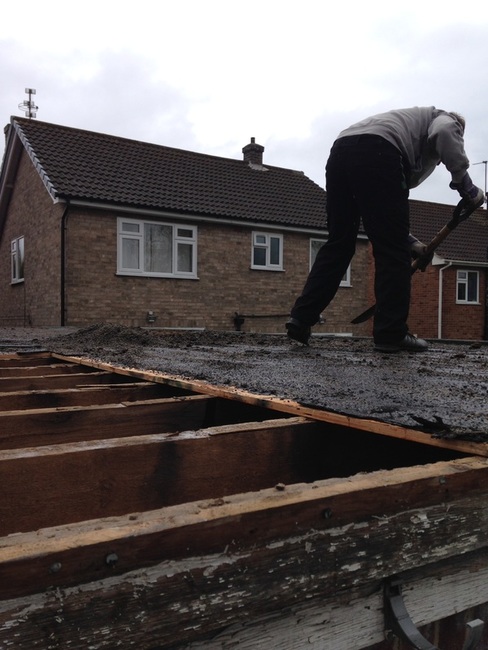
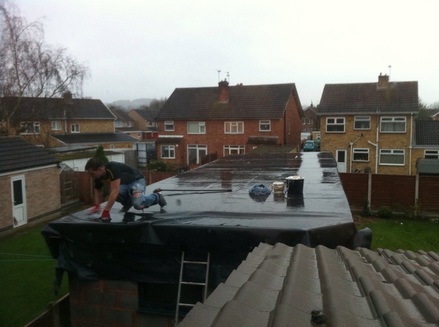
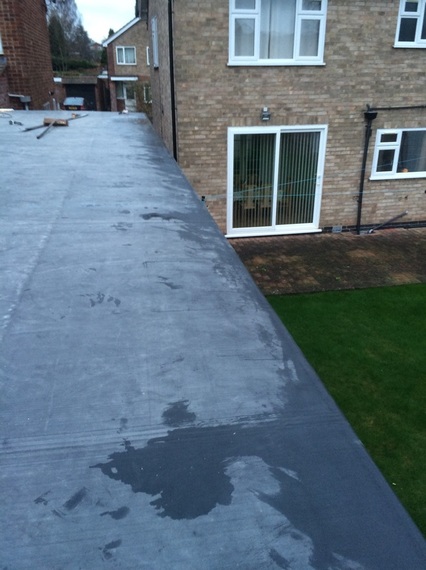
It was then time to glue most of the rubber down. I say "most of the rubber" because glueing it down was a two-stage process. First, the majority of the rubber is glued down with a water-based PVA. The glue is applied to all but about a 6 inch border around the edges. Then a stronger contact adhesive is applied around the border and is secured with edge trim.
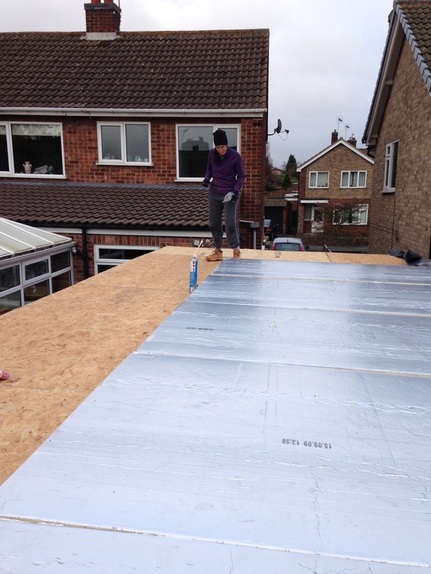
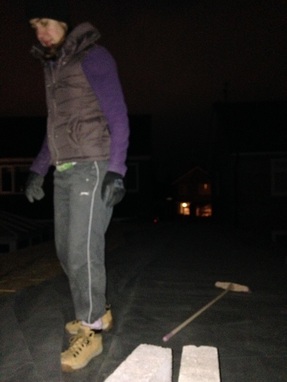
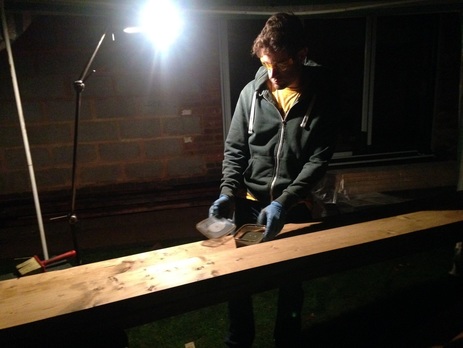
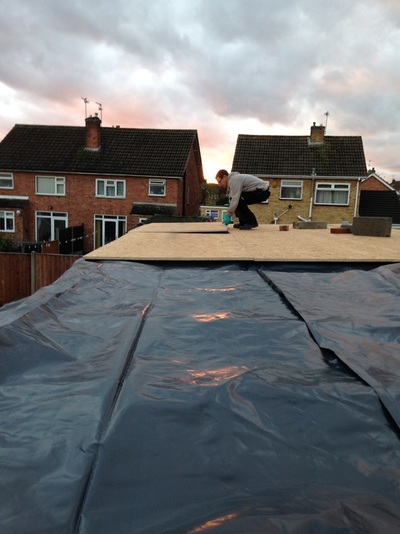
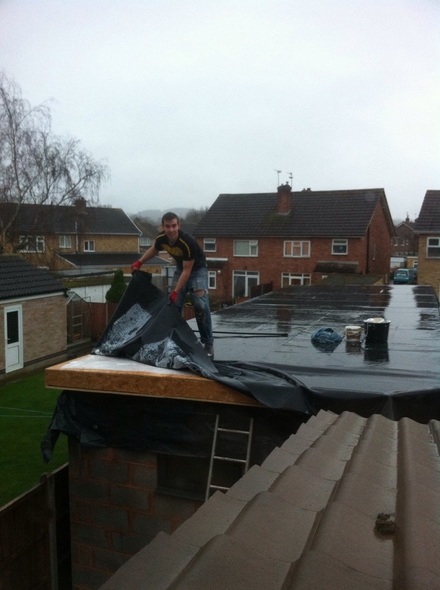
I had been waiting for a break in the weather to do the glueing for a couple of weeks, when a lovely sunny day came along. This was my chance. I prepared by folding back half of the roof rubber just like all of the Youtube videos tell you to:
I had been waiting for a break in the weather to do the glueing for a couple of weeks, when a lovely sunny day came along. This was my chance. I prepared by folding back half of the roof rubber just like all of the Youtube videos tell you to:
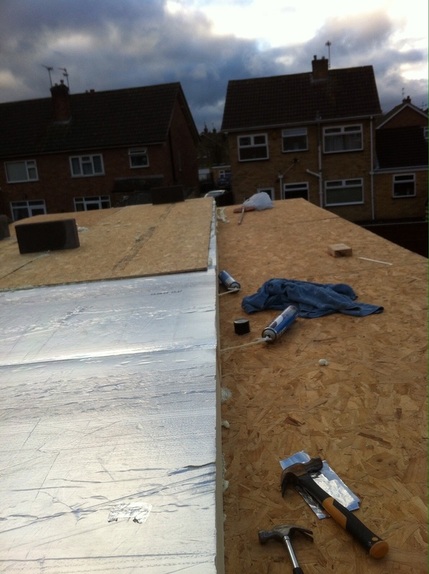
I had a big bucket of glue, a roller to apply it and a soft broom to brush out any creases and air bubbles in the rubber. A closer shot, followed by application of the glue:

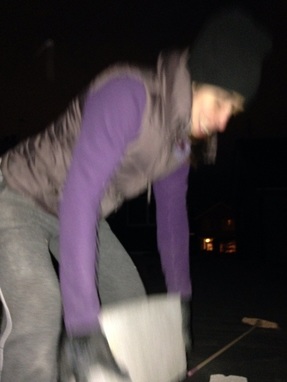
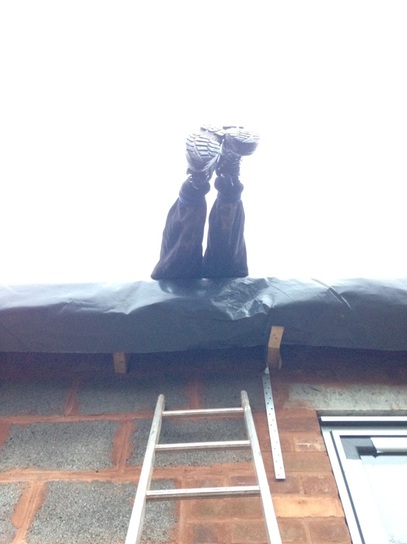
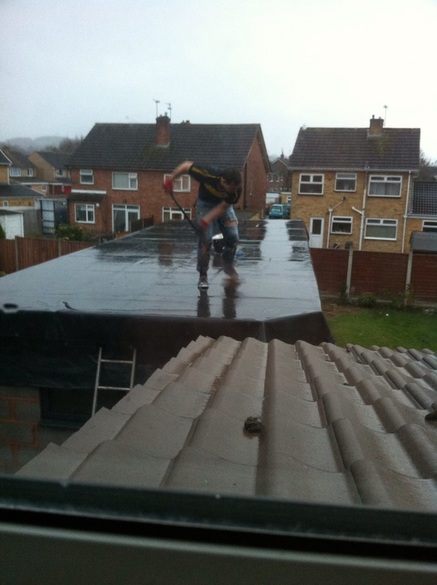
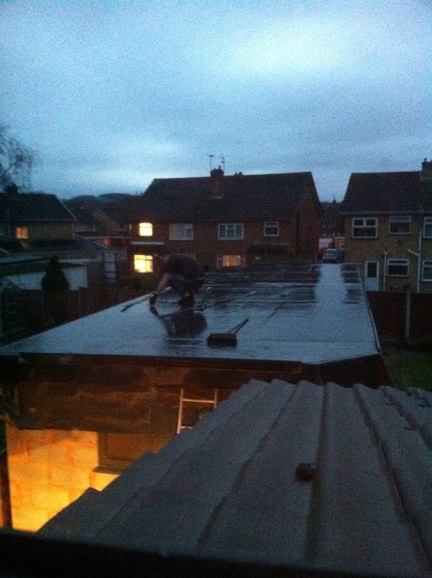
I had planned to take a number of photos through this process to show the progress. Of course I could enjoy no so luxury with the curse of the English weather. The bright sunny day (just look at the photos above!) quickly turned into a monsoon. I worked furiously to get the first half glued and the rubber folded back over. The next chance I got to take a photo was as I was wringing myself dry from inside the house:
The rain subsided slightly, but it was still very wet. But I needed to get this stage finished. Commence working in the pouring rain:
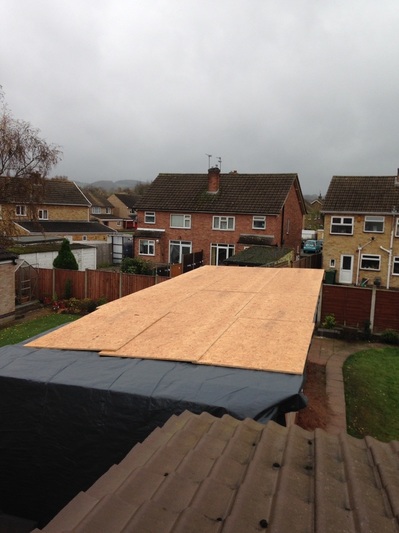
Prior to glueing the edges, I temporarily secure them with the edge trims:
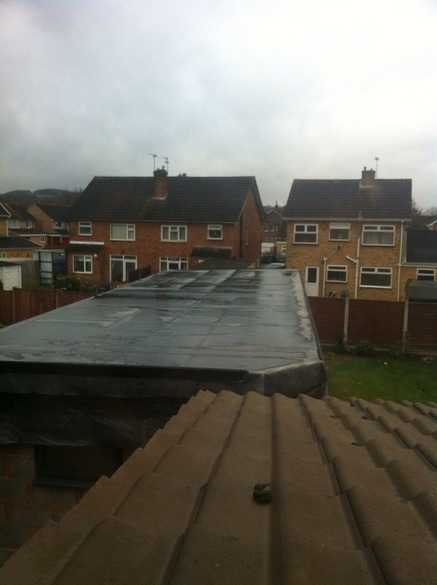
And the next day, the roof was still there, so I must have done something right:
So the next stage (another week later), was to glue those edges. I had taken off the trim and folded back the edge to apply to contact adhesive, and then re-lay the rubber:
Along one edge, I had to fit some trim underneath the rubber to create a run-off into the guttering:
The rubber was glued over this lip and then the guttering fitted beneath, with another piece of trim fixed on the outside of the rubber to secure:
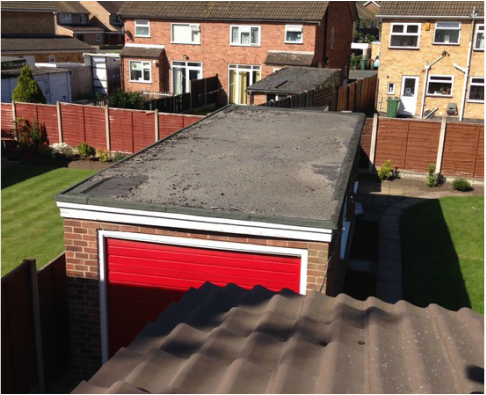
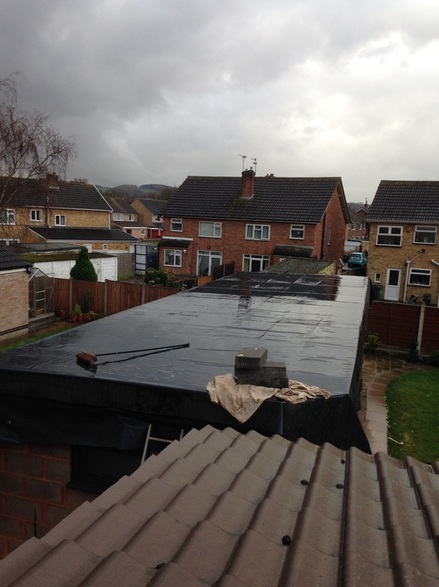
So lots of nails and screws later, I had made it all of the way around the roof. It looked pretty nice:
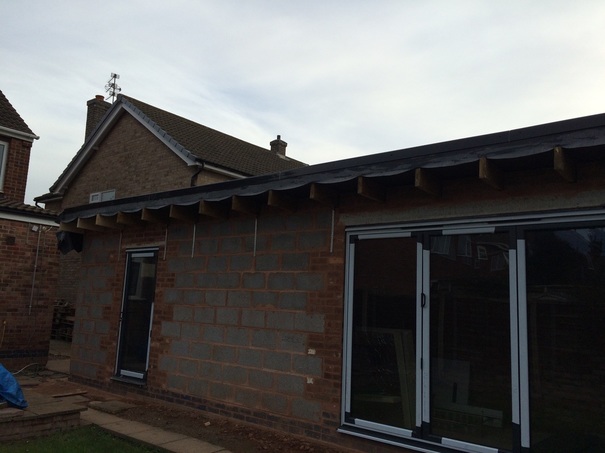
I did later tidy up the rubber hanging down the sides:
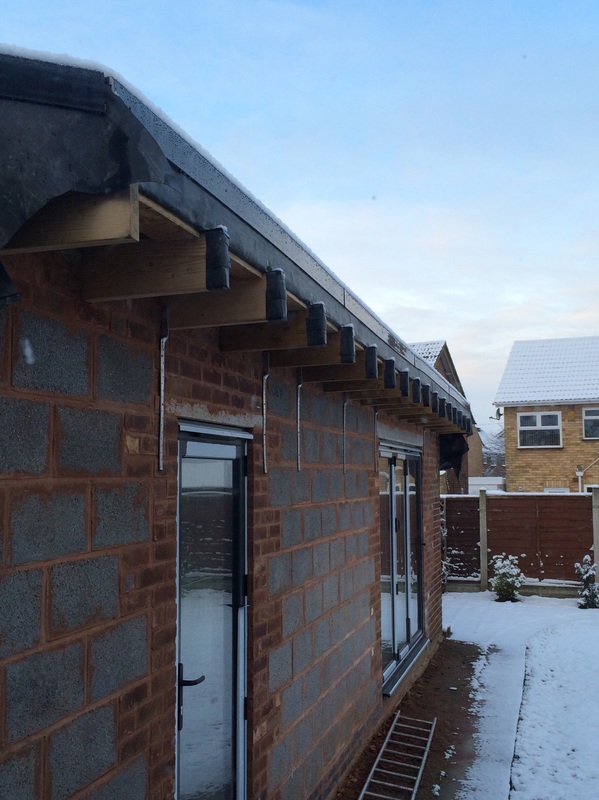
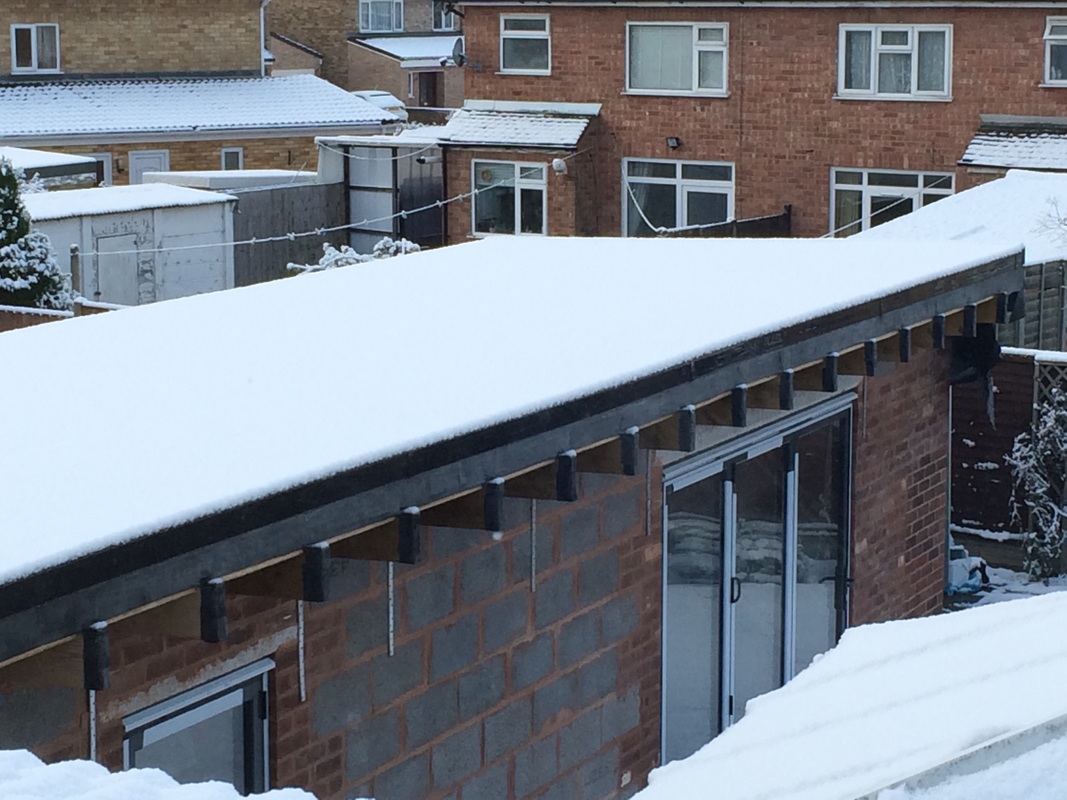
It looked particularly nice in the snow!
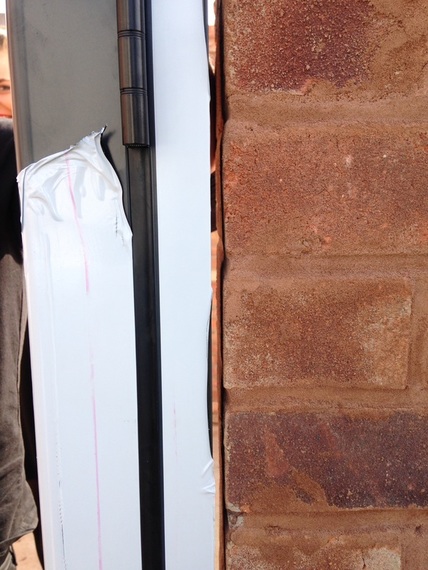
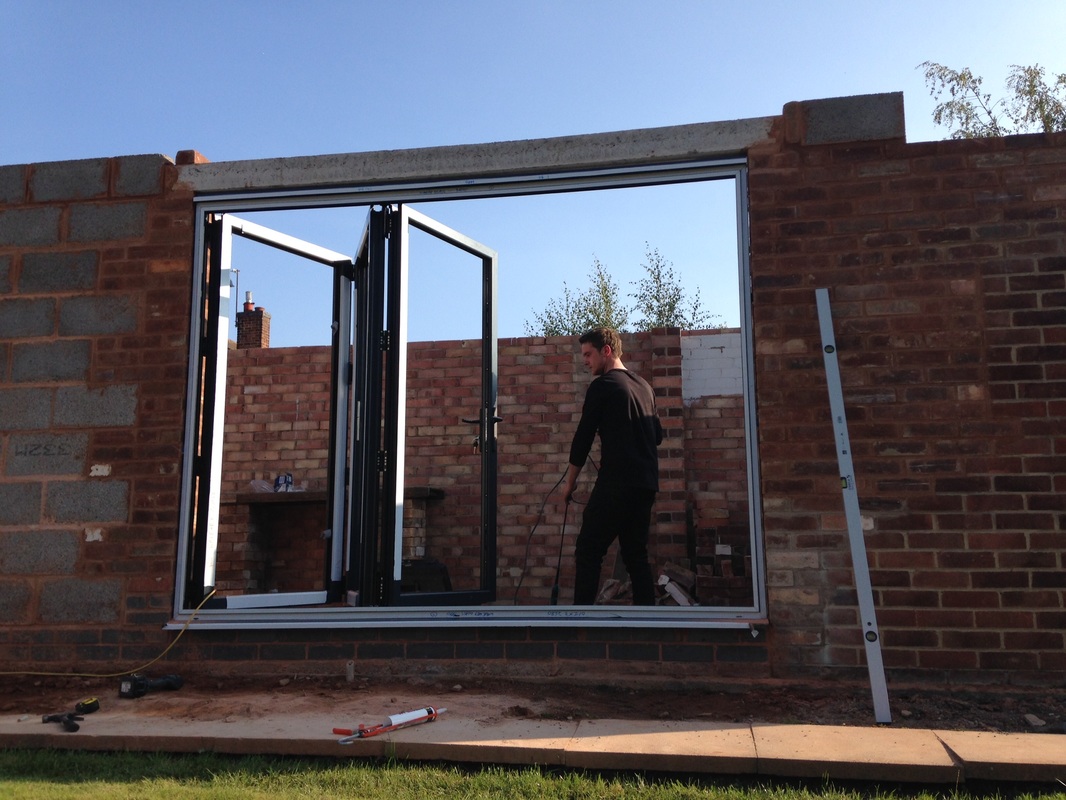
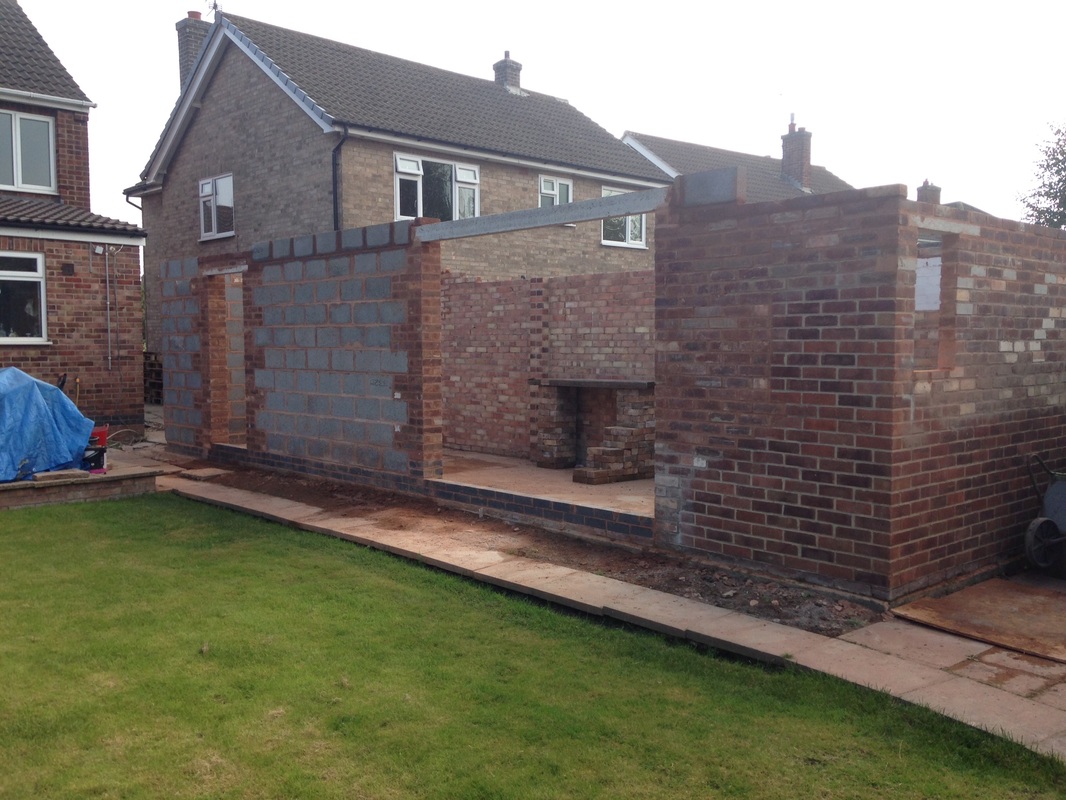
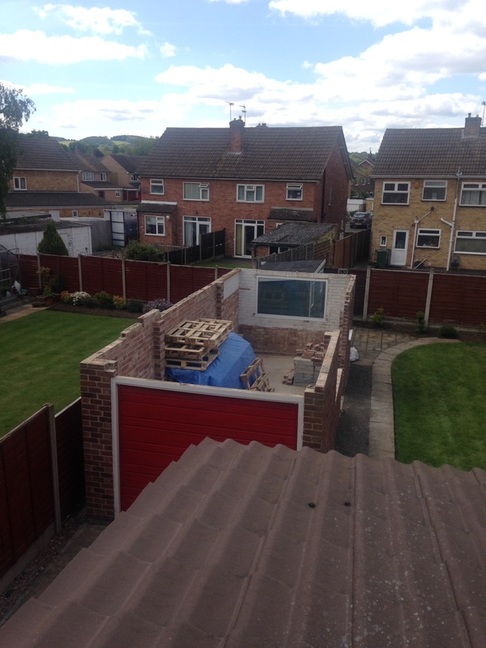
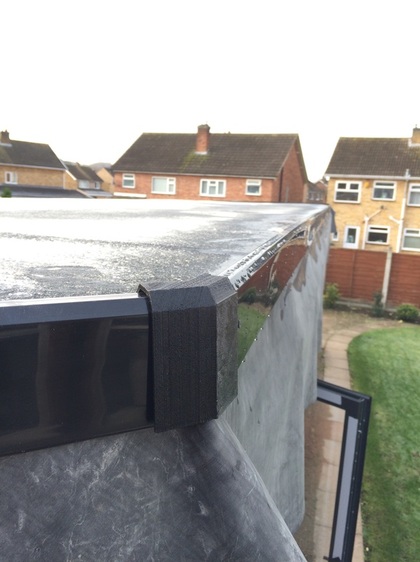
There was one last piece of flair to apply to this installation. Most people fit roofs with right angled corners - a sensible thing to do, as it means you can use the standard square corner fittings to finish off the roof corners nicely. But remember that 45 degree corner we've got? Have a look at the first image of this post - a bit of a pain. However, I took the opportunity to develop my CAD skills and mocked up a model for my friend to 3D print with his home set-up (thanks Grant!). Impressive results and finished things off rather nicely:
And that is pretty much where the garage is today. I had finished this work by the end of January, but since then attentions turned to fitting out a cafe, that Marta now runs, just around the corner from our house (visit www.bombompatisserie.com to find out more!). I may post something about this next time, so keep a look out. And now that the cafe is up and running, my focus is back on the garage, so I hope for more progress soon!