Last time I posted, we had just removed the roof leaving the current brick structure underneath exposed. The next stage in our garage conversion was to perform some slight modification to the existing structure. In other words, knock down some walls.
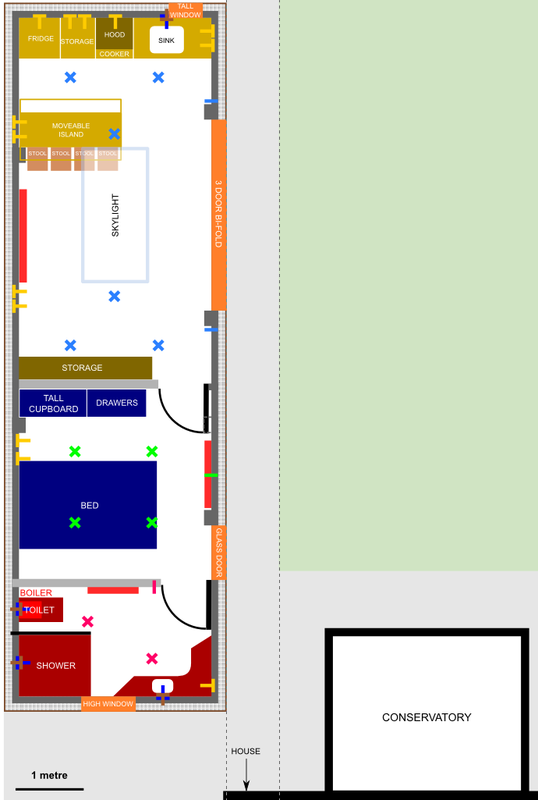
The final plan is to have a couple of new doors and windows in the structure, and all in places where there were none in the original structure. See my drawing below, showing the new doors and windows in orange:
The final plan is to have a couple of new doors and windows in the structure, and all in places where there were none in the original structure. See my drawing below, showing the new doors and windows in orange:
My dear cousin, Bradley, is helping out with the doors and windows - he works as a fitter, so has very kindly offered to order and fit everything for us. We're keeping it in the family!
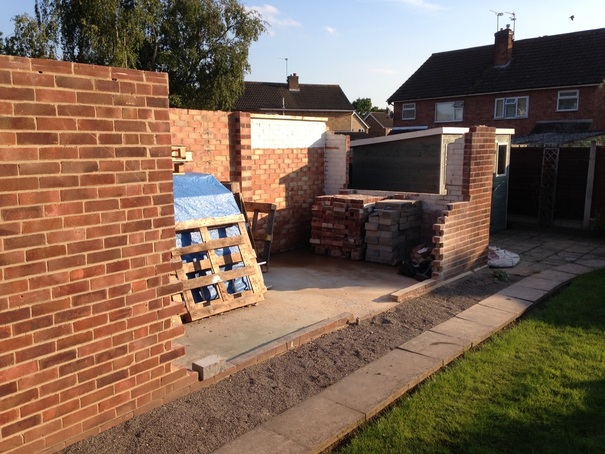
So to prepare for these new fittings, I needed to first remove all the existing windows (we made a start with my dad and brother last time). Then I needed to knock down some sections of original wall to make the correct sized holes to fit the new doors and windows. It started off fairly civilised, taking out bits and pieces whilst trying to retain as much of the original wall as possible:
So to prepare for these new fittings, I needed to first remove all the existing windows (we made a start with my dad and brother last time). Then I needed to knock down some sections of original wall to make the correct sized holes to fit the new doors and windows. It started off fairly civilised, taking out bits and pieces whilst trying to retain as much of the original wall as possible:
However, it was difficult to knock down the wall to a certain point, as knocking bricks out usually made ones nearby come loose. This was not helped by using an angle grinder (thanks to dad for the lend regardless of the lack of success) to try to make cuts, as this also loosened surrounding bricks too much. Basically, the original mortar (that stuff between the bricks) is now quite brittle and weak.
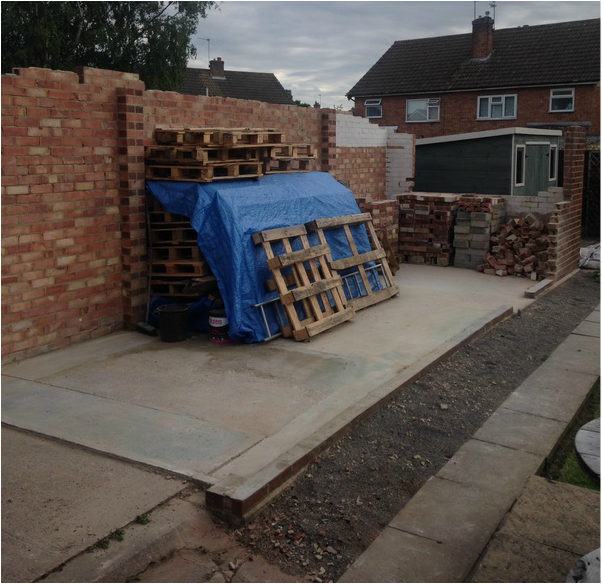
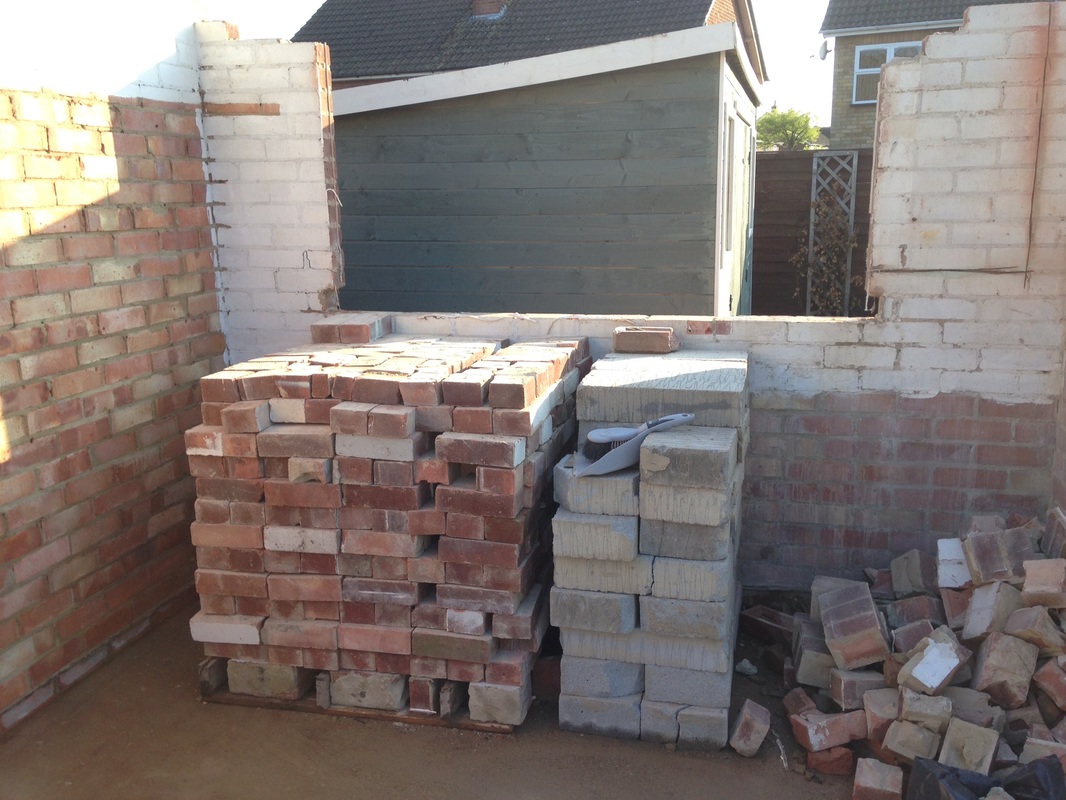
It soon became apparent, that it would probably be just as easy to knock most of the right hand side down and build it again from scratch. As the right hand wall was the only one being heavily modified, I could keep the back and left walls largely in tact:
It soon became apparent, that it would probably be just as easy to knock most of the right hand side down and build it again from scratch. As the right hand wall was the only one being heavily modified, I could keep the back and left walls largely in tact:
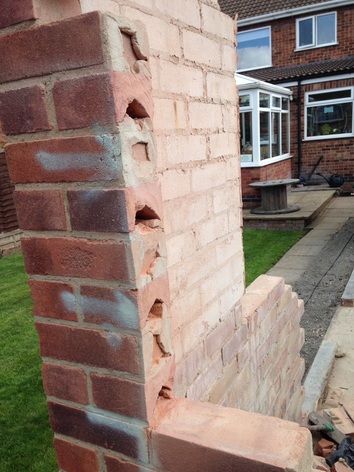
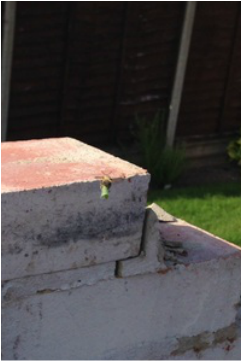
Along the way, I also cut part of a hole for the window on the back wall with relative success:
The frame for the window will be made once I brick up the gap of the old larger back wall window and add a lintel across the top of this new opening.
One thing I noticed had happened when I removed bricks from the top row close to this window aperture was that I must have destroyed a poor wasp's leaf store. I took away a brick and a handful of tiny leaves fell away. Then this superhero wasp kept appearing, riding on a tiny leaf like something out of Mario Kart - surely wondering where his impressive stockpile had disappeared to:
One thing I noticed had happened when I removed bricks from the top row close to this window aperture was that I must have destroyed a poor wasp's leaf store. I took away a brick and a handful of tiny leaves fell away. Then this superhero wasp kept appearing, riding on a tiny leaf like something out of Mario Kart - surely wondering where his impressive stockpile had disappeared to:
 |  |
Superbee, if you are reading, I just want to say how sorry I am for destroying your leaf barn.
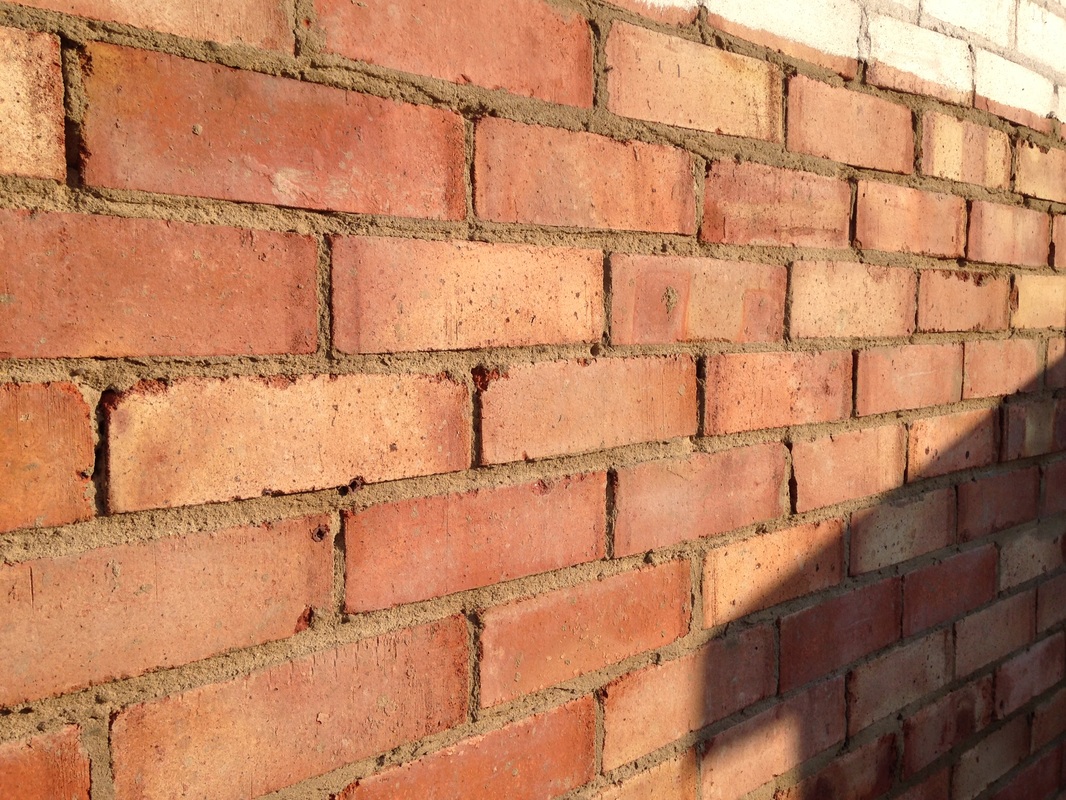
After I overcame my guilt, I moved on to a bit of pressure washing of the inside of the wall on the left hand side. When finished, the wall will be exposed as the inside wall surface as a feature with the insulation going on the outside of the wall to maximise interior space. As it was, the mortar in the wall was fragile and any contact caused some areas to flake off. I used the pressure washer (thanks to my good friend Arthur for the lend) to remove the loose bits and hoped that I wouldn't end up just bricks and no mortar by the end of it. Fortunately, the wall stayed in tact and it continues to convince me that it will make a great feature wall by the end:
After I overcame my guilt, I moved on to a bit of pressure washing of the inside of the wall on the left hand side. When finished, the wall will be exposed as the inside wall surface as a feature with the insulation going on the outside of the wall to maximise interior space. As it was, the mortar in the wall was fragile and any contact caused some areas to flake off. I used the pressure washer (thanks to my good friend Arthur for the lend) to remove the loose bits and hoped that I wouldn't end up just bricks and no mortar by the end of it. Fortunately, the wall stayed in tact and it continues to convince me that it will make a great feature wall by the end:
What I haven't got pictures of here is the absolute carnage that is produced when you knock down a brick wall. It has been some of the most physically gruelling work so far to knock down the walls, break up the bricks and then chip off the old mortar to reclaim the brick for re-use. I always maintain that organisation is key to any task, so have been disciplined in tidying as I go. Such steps have meant that I now have a nice collection of bricks (about 600, which would cost about £400 to buy) for the re-build at no cost - in fact I've probably lost a few pounds judging by the amount of sweat created whilst cleaning the bricks!
It has also been a huge task to clear up piles and piles of chipped off mortar and unusable bricks. In this interests of limiting expenditure, I haven't hired a skip, and so have taken all the waste to the dump. It remains that everything done since the very start to this point has cost the grand total of £10 for some rubble bags. Not bad.
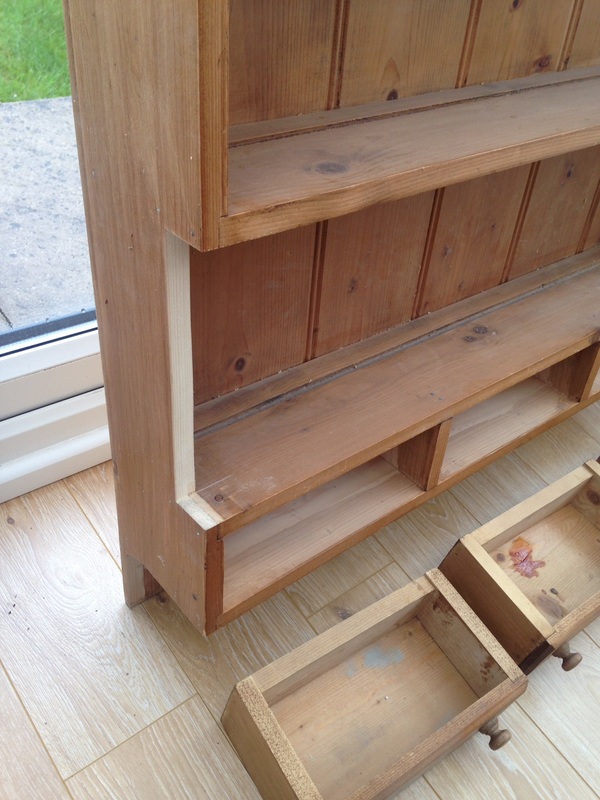
On another occasion, I took a day off from work one day last week to do some garage work, but it poured with rain until lunch time. So in the meantime I set about renovating a pine shelf we picked up free from the university a few years back. It was an ornate thing with lots of curly edges. Not really my style. So I cut off the curly bits to make it all square, and gave it a spray coat. See below, from the stage after cutting off the curly bits to now:
On another occasion, I took a day off from work one day last week to do some garage work, but it poured with rain until lunch time. So in the meantime I set about renovating a pine shelf we picked up free from the university a few years back. It was an ornate thing with lots of curly edges. Not really my style. So I cut off the curly bits to make it all square, and gave it a spray coat. See below, from the stage after cutting off the curly bits to now:
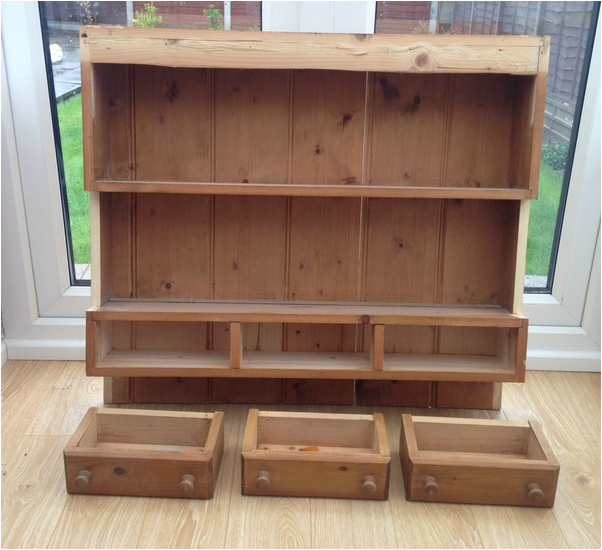
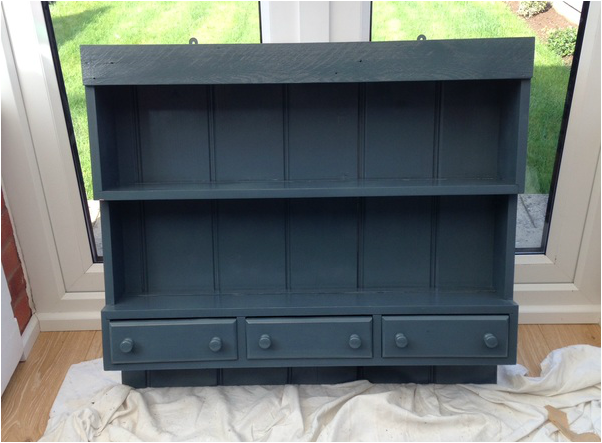
Much better. And as you can see, by the end, the sun was out.
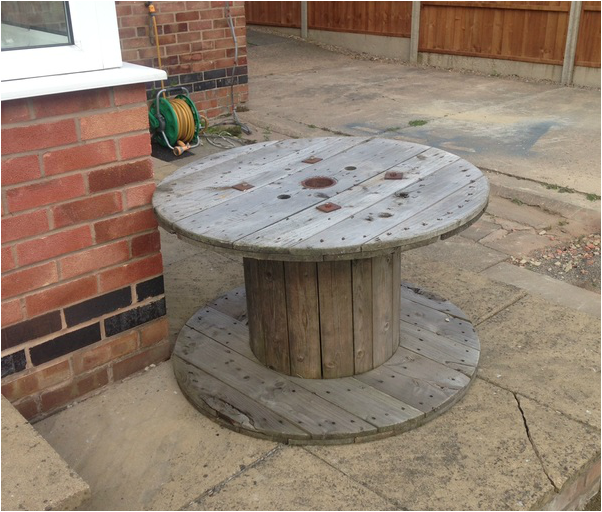
The other thing I spotted lying around the university was an old cable reel which I thought would make a great coffee table. I asked Marta to hook me up through her university connections (I wasn't going to just take it!), and by the end of the day after I spotted it, it was in our back garden. I will save working on it for another rainy day:
The other thing I spotted lying around the university was an old cable reel which I thought would make a great coffee table. I asked Marta to hook me up through her university connections (I wasn't going to just take it!), and by the end of the day after I spotted it, it was in our back garden. I will save working on it for another rainy day:
So, a lot achieved this time. And next? Well, we are currently waiting for the building control application to be approved and will have to wait for a first visit by the inspector before I can build anything. But hopefully this is not too far away.
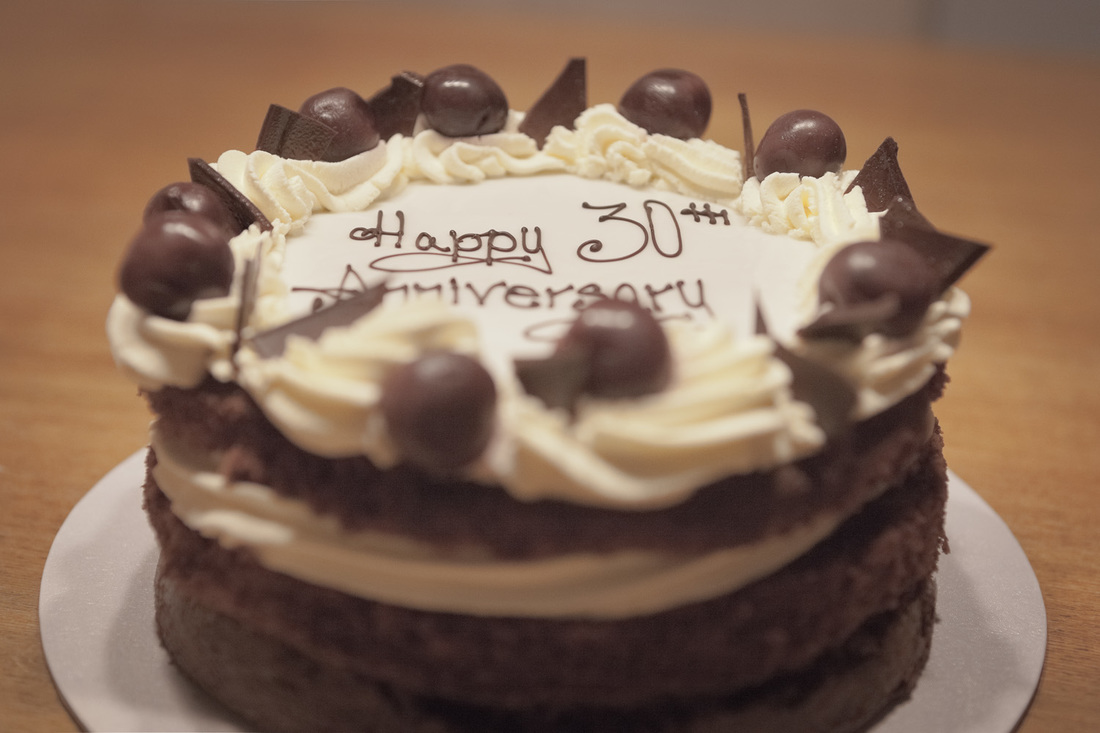
And Marta? Well, Marta was busy graduating as a Level 3 patisserie chef, providing dessert orders to the university, getting ready to cater for a graduation event in a couple of weeks and decorating some birthday cakes for customers...see www.facebook.com/bombompatisserie for more (I will not apologise for the shameless plug, it is my blog after all):
And Marta? Well, Marta was busy graduating as a Level 3 patisserie chef, providing dessert orders to the university, getting ready to cater for a graduation event in a couple of weeks and decorating some birthday cakes for customers...see www.facebook.com/bombompatisserie for more (I will not apologise for the shameless plug, it is my blog after all):


Don't forget, if you would like to receive an e-mail whenever something is posted here, use the form on the right hand side of the page.
Now, time for a rest..
Now, time for a rest..